
When I first built my own brick BBQ using a DIY BBQ kit, I had no idea that the real secret to unforgettable flavor wasn’t just in the meat or the marinade—but in the grill itself. I’d spent weeks researching designs, picking out the perfect spot in my backyard, and assembling my brick BBQ kit piece by piece, imagining the countless summer evenings I’d spend flipping burgers and smoking ribs.
But once the last brick was set and the final bolt was tightened, I realized I was missing one essential step—seasoning the grill.
I know what you're thinking: “Seasoning a grill? Isn’t that just for cast iron pans?” That’s what I thought too—until I did it and the flavor of my BBQ skyrocketed. Let me take you through the story of how I seasoned my new DIY BBQ, and why you should absolutely do the same—whether you’re building from scratch or just firing up a new grill for the season.
The Hidden Flavor Weapon: Seasoning Your BBQ Grill
Seasoning isn’t just about preventing rust. It’s a ritual. It’s about creating a seasoned layer of smoky, flavor-packed oil that bonds to the grates and infuses your food with that signature backyard BBQ taste.
This process is especially vital if you’ve built your own brick BBQ from a DIY BBQ kit. Think about it—you’ve just assembled a brand new cooking surface. Those pristine grates may look ready to go, but they haven’t been "broken in" yet. Seasoning helps you create a natural non-stick coating and lays the foundation for hundreds of delicious meals to come.
Step 1: Clean Everything Thoroughly
Even though it’s new, your grill needs a good clean. During construction, your brick BBQ kit might have picked up dust, oils, or bits of packaging that shouldn’t end up in your burgers.
Use warm soapy water and a stiff brush to scrub the grates and inner surfaces. Rinse and dry everything completely. If you're working with a DIY BBQ that’s seen a few uses, consider using a vinegar and baking soda mixture to strip away any gunk before re-seasoning.
Step 2: Choose Your Oil Wisely
Seasoning is all about oil—but not just any oil. You want something with a high smoke point. My go-to is grapeseed oil, but canola or vegetable oil works great too.
Why is this important? Oils with high smoke points won’t burn and go rancid during the high heat of grilling. Instead, they polymerize—fancy word for turning into a slick, protective layer that adds to the flavor and performance of your grill.
Step 3: Fire It Up
Whether you're using a gas grill or a charcoal setup built into your brick BBQ, the key here is heat. Heat opens up the pores in your metal grates, letting the oil seep in and bond properly.
For my DIY setup, I loaded the firebox with lump charcoal, gave it time to ash over, and spread it evenly beneath the grill grates. Let the grill preheat for 15-20 minutes.
Step 4: Oil, Smoke, Repeat
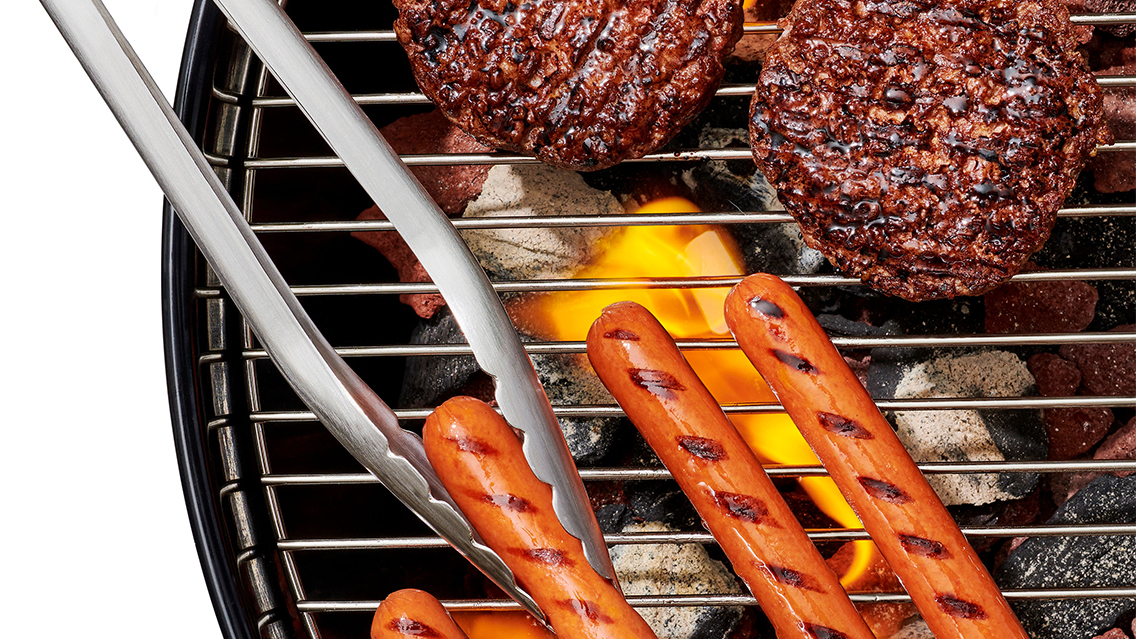
Now it’s time for the magic. Dip a cloth in oil and, using long-handled tongs, rub it all over the grates. You don’t need to soak them—just a light, even coating.
Close the lid and let it smoke for about 30 minutes. Yes, smoke. That’s a good sign! It means the oil is bonding to the grates. After 30 minutes, open it up and do it again. Two or three rounds is ideal for new grills, especially if you're working with a freshly built DIY BBQ kit.
Step 5: Cool Down and Admire
Once you're done with the last oiling round, let the grill cool down naturally. You’ll notice the grates have turned a lovely dark bronze or black—this is the start of a well-seasoned grill. It’s beautiful, really. All that effort from building your own brick BBQ now has the flavor to match its custom charm.
Bonus Tip: Season the Firebox Too
If you’re using a DIY BBQ kit that includes a metal firebox, consider seasoning that too. It helps prevent rust and improves heat distribution. Same process: oil, heat, smoke, repeat.
Why Seasoning Pays Off Every Time
Once I seasoned my grill, everything changed. The next time I threw a steak on it, I could actually smell the difference. There was this warm, slightly nutty aroma mixed with the char of the coals that I had never experienced before. It was the flavor of a well-loved grill.
Better yet, cleaning became easier. No more scraping stuck-on chicken skin or wrestling with fish fillets. A seasoned grill releases food like a dream.
And here’s the real kicker—seasoning keeps getting better. Every time you cook fatty meats or oil-rich veggies, you're adding to the seasoning layer. It’s like seasoning a cast-iron skillet: the more you use it, the better it gets.
From Project to Passion
Building my DIY BBQ with a brick BBQ kit wasn’t just about saving money (though I did save a good chunk compared to pre-built options). It was about creating something with my own hands. And by seasoning it, I turned it from a project into a passion.
That BBQ has seen family reunions, birthday parties, and quiet weeknight dinners with just me and a rack of ribs. And every time I light it up, it performs better than the last.
Final Thoughts: Treat Your Grill Like an Heirloom
Seasoning your BBQ grill isn’t a one-time task—it’s a relationship. Like any good tool, your grill gets better with care and use. So whether you’re starting fresh with a brick BBQ kit, or dusting off last summer’s DIY BBQ, take the time to season it properly. It’ll reward you with flavor, performance, and years of backyard memories.
If you're thinking of building your own grill, I can’t recommend it enough. There’s something incredibly satisfying about putting together a DIY BBQ kit and knowing that the first burger cooked on it is just the beginning.
Happy grilling—and don’t forget to season!


Comments
0 comment