views
In today's world, ensuring the safety and security of our homes is paramount. One effective way to enhance the security of your windows is by installing DIY security shutters.
These shutters not only provide a physical barrier against intruders but also offer additional benefits like improved insulation and privacy. Building your own DIY security shutters for windows might seem daunting at first, but with the right materials, tools, and a bit of guidance, you can successfully fortify your windows while adding a touch of personalisation to your home.
Understanding the Basics of Security Shutters
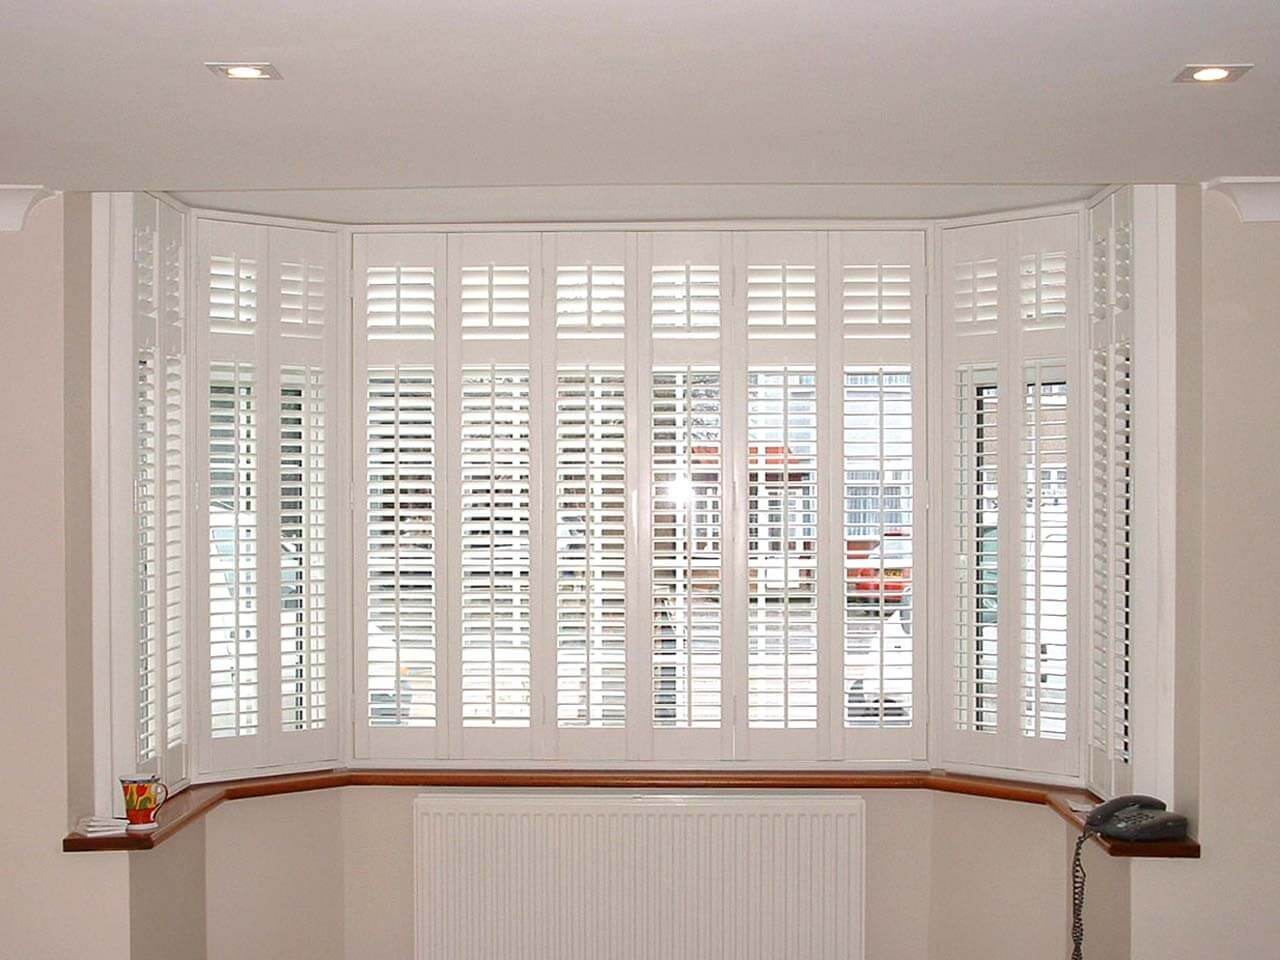
Security shutters are sturdy coverings that can be mounted on the exterior or interior of windows. They are typically made from durable materials such as aluminium, steel, or reinforced wood to withstand forceful entry attempts.
The primary function of these shutters is to act as a deterrent against burglars and to protect your windows from extreme weather conditions.
Planning Your DIY Project
Before you begin building your security shutters, careful planning is essential. Start by measuring the dimensions of each window where you plan to install the shutters. Accurate measurements will ensure that your shutters fit snugly and provide effective coverage.
Consider whether you want your shutters to be fixed in place or operable, as this will dictate the type of hardware and mounting options you'll need to use.
Choosing the Right Materials
Selecting the appropriate materials is crucial for the durability and effectiveness of your DIY security shutters for windows. Aluminum is a popular choice due to its lightweight nature, corrosion resistance, and ease of maintenance.
Steel offers unmatched strength but is heavier and requires more upkeep to prevent rust. For a more traditional look, reinforced wood shutters can be an excellent option, providing both security and aesthetic appeal.

Building and Installing Your Shutters
Step 1: Gather Your Tools and Materials
Before you begin construction, gather all the necessary tools and materials. This typically includes:
- Materials: Aluminum or steel sheets, wood (if opting for wooden shutters), hinges, bolts, nuts, locking mechanisms, and weatherproof sealant.
- Tools: Drill, saw, screwdriver, measuring tape, level, pencil, and safety gear.
Step 2: Constructing the Frame
Start by cutting the chosen material into panels according to your window measurements. Use a saw to cut precise edges and ensure all panels are uniform in size. Next, assemble the frame using bolts and nuts, ensuring it is sturdy and well-aligned.
Step 3: Adding Security Features
Integrate security features such as reinforced corners, locking mechanisms, and tamper-resistant screws to enhance the strength of your shutters. These additions will deter potential intruders and provide peace of mind.
Step 4: Mounting the Shutters
Carefully position the shutters over your windows and mark the locations for hinges and mounting brackets. Use a drill to create pilot holes, then secure the shutters in place using screws and bolts. Ensure they open and close smoothly and that the locking mechanisms function correctly.
Maintaining Your Security Shutters
To prolong the life of your DIY security shutters, perform regular maintenance checks. Inspect for any signs of wear or damage, especially after severe weather conditions. Clean the shutters periodically with mild soap and water to remove dirt and debris, and apply a fresh coat of sealant if necessary to protect against rust or corrosion.
Additional Tips and Considerations
- Customisation: Personalise your shutters by painting them to match your home's exterior or adding decorative elements that complement your style.
- Legal Requirements: Check local building codes and regulations before installing security shutters, especially if they alter the exterior appearance of your home or affect visibility from the street.
- Professional Assistance: If you're unsure about any aspect of the installation process, consult with a professional contractor or handyman to ensure the job is done safely and effectively.
Conclusion
Building DIY security shutters for windows is a rewarding project that enhances both the security and aesthetic appeal of your home. By following these steps and guidelines, you can create robust shutters that provide peace of mind knowing your home is well-protected.
Whether you choose aluminium, steel, or wood, the investment in security shutters is an investment in the safety and comfort of your family. Take the initiative to fortify your windows today and enjoy the benefits of enhanced security for years to come.


Comments
0 comment